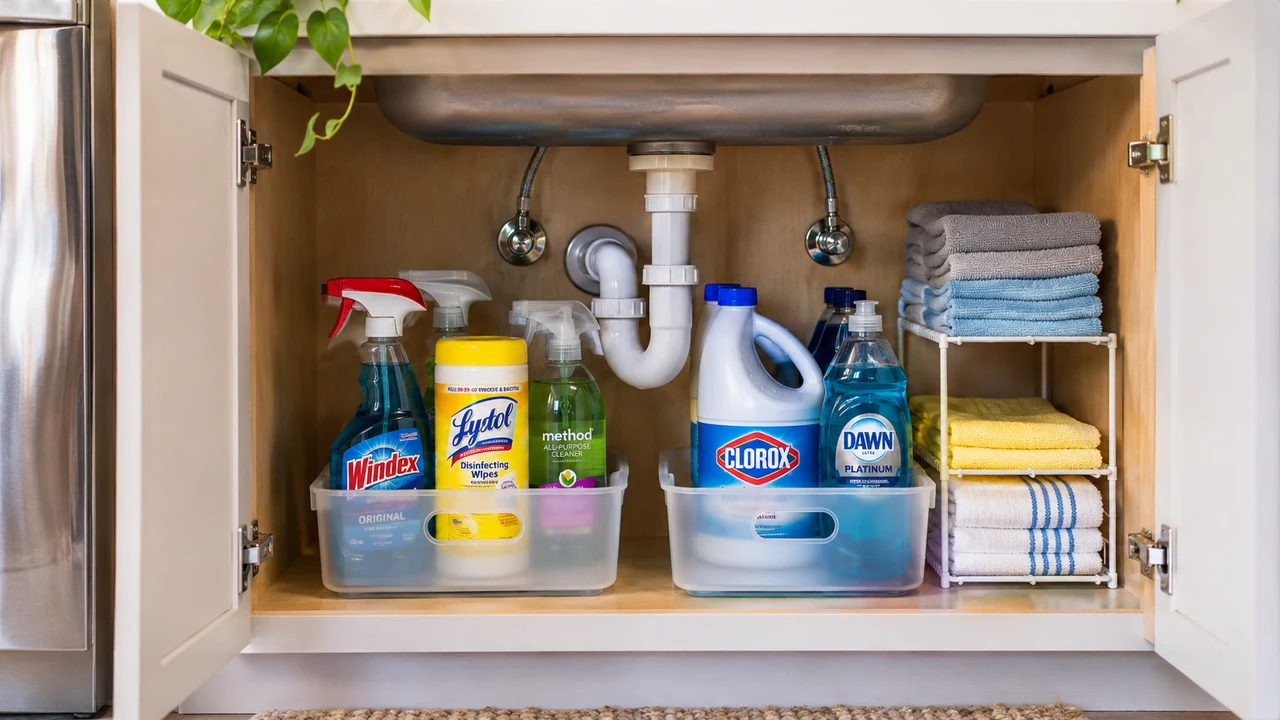
Under kitchen sink organization works best when you plan around the plumbing and your daily routine before buying storage. The cabinet has to hold useful supplies, let you see a developing leak, and allow you to reach the shutoff valves. A tidy photograph is less useful than a layout you can reset after washing dishes.
Start by removing the contents, checking that the space is dry, and measuring the areas you can actually use. Then return a small selection of appropriate supplies in removable containers. This guide offers a practical way to organize an ordinary cabinet, including awkward pipes, a garbage disposal, or a narrow door opening.
Empty the cabinet and check its condition first
Choose a time when the sink is not needed for a large meal or cleanup. Clear a nearby surface and move the contents out in small groups. Keep cleaning products upright in their original containers, with labels visible. Do not combine partial bottles to make the pile look smaller.
Once the cabinet is empty, look at the floor, back wall, pipe joints, and areas around hoses. If you find dampness, staining that is changing, a damaged container, or a noticeable leak, deal with that problem before returning supplies. Bins should not conceal a maintenance issue.
Wipe an ordinary dry cabinet according to its material and let it dry fully. Avoid saturating wood or particleboard. You do not need to disconnect plumbing, remove a disposal, or move electrical connections to organize the space. If equipment prevents the layout you imagined, choose a different layout.
Set a clear boundary for this project
This is a storage project, not a plumbing repair. Do not loosen a connection to gain an inch for an organizer. Keep cords, outlets, hoses, and fittings in their intended positions. If something appears damaged or unsafe, have the relevant problem assessed before continuing.
Take a simple before photograph for your own reference. It can help you remember where equipment sits after you return the supplies. If you share the photograph with someone helping you choose storage, remove labels or paperwork containing personal information from the surrounding area first.
Decide what belongs under this sink
Gather supplies by job: dishwashing, everyday surface cleaning, occasional cleaning, and refills. Count what you actually use. A cabinet that holds one active bottle and one planned refill is easier to manage than one containing several nearly identical products purchased because the first bottle was hidden.
Move items that are unsuitable for this location to an appropriate place elsewhere. Food, loose paperwork, electronics, and treasured objects do not benefit from being stored beneath water connections. Keep dry textiles separate from products that could leak, and avoid using this cabinet as a general household overflow zone.
Check every product’s label for storage instructions. A low cabinet may be inappropriate when children or pets can gain access. Choose secure storage suited to the products and household, rather than assuming that closing the cabinet door provides enough protection. Attractive baskets do not make a hazardous product safe.
Reduce duplicates without unsafe disposal
The EPA’s household hazardous waste guidance advises keeping hazardous products in their original containers, retaining labels, and never mixing leftovers. Follow label directions and local waste guidance for disposal. Do not pour unwanted chemicals into the sink simply to finish an organizing project.
If a product is in poor condition or its contents are unclear, set it aside securely and seek local handling instructions. For usable duplicates, make a short inventory and stop buying more until you need them. The useful outcome is less hidden stock, not an empty cabinet achieved by careless disposal.
Measure the usable spaces around the pipes
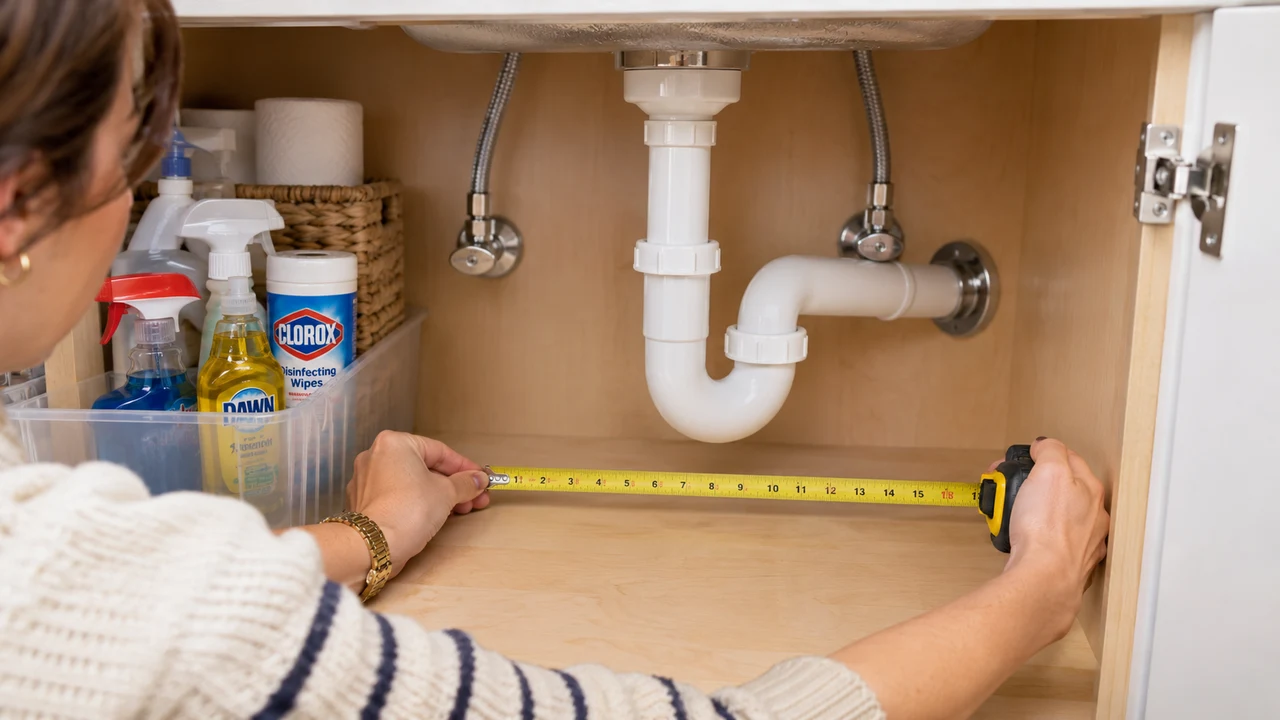
Measure the inside width, depth, and height, then measure the door opening separately. A container can fit on the cabinet floor yet fail to pass through the opening. Hinges, a center stile, the sink bowl, and the disposal may reduce the route available for moving an organizer in and out.
Sketch a simple overhead view on paper. Mark the drain, supply lines, shutoff valves, disposal, filter equipment, and anything else fixed in place. You do not need an architectural drawing. You need to see which areas can hold a container without putting pressure on equipment or blocking access.
Next, measure each usable pocket rather than treating the cabinet as one empty rectangle. The left side may suit a narrow bin, the front may hold a shallow caddy, and the area behind a drain may be better left open. An unused corner can be a sensible choice.
Test movement as well as dimensions
Make a temporary outline from clean cardboard or use an empty container already in the house. Move it through the doorway, place it where you intend to store it, and pull it out again. Check the path with the door at its normal opening angle.
For example, imagine an organizer that is 10 inches wide and a doorway that appears 11 inches wide. A hinge or handle may still obstruct the movement. The practical test is whether the loaded item can travel smoothly without turning it into the pipes, not whether the numbers look close enough.
Create a simple under kitchen sink organization layout
Give the easiest-to-reach space to the supplies used most often. A small front caddy might contain the active dish soap, a brush, and one suitable everyday cleaner. Keep any dry cloths in a separate clean container. Return wet items only after they have dried appropriately.
Place occasional supplies in a second removable bin if the space and product instructions permit. Refills can occupy another suitable area, but avoid stacking them behind so many items that you forget them. If the cabinet is small, store refills elsewhere rather than forcing a second layer under the plumbing.
Leave a clear route to the valves and enough visibility to notice the cabinet floor and connections. The layout should let you remove one or two containers quickly if access is needed. Before calling it finished, explain to another adult in the home what comes out first and where essential access points are.
Use zones that reflect real tasks
Labels such as daily dishes, cloths, and refills are easier to maintain than vague categories such as miscellaneous. Choose words everyone in the household understands. A label should answer where an item goes after use; it should not require remembering the organizer’s personal system.
If you often take supplies to another room, a portable caddy can make sense. If supplies stay at the sink, a low open bin may be easier. Your routine determines the container, rather than the container determining how you must clean the kitchen every evening.
Choose organizers by the problem they solve
A low bin groups items and catches small drips from its contents, but it does not fix leaking plumbing. A handled caddy makes a small group portable, but becomes awkward when overloaded. A pull-out unit can improve access, but needs room to slide and may require installation suited to the cabinet.
A turntable can help in a broad clear area, yet its circular shape may waste space in a narrow pocket. A riser can separate small items where headroom permits, but should not press against a pipe or create an unstable stack. Evaluate the actual cabinet rather than buying several popular organizers together.
Before purchasing, write down the maximum usable dimensions, the door opening, and the movement required. Check the organizer’s full assembled size and any installation instructions. Include handles, rails, and the space needed to lift a bottle out. A measurement of the shelf alone may not describe the complete product.
Be cautious with door storage and hanging tricks
Cabinet doors may offer room for light items, but an added rack can collide with plumbing or the contents when the door closes. Test clearance carefully. Follow the hardware manufacturer’s weight limits and installation guidance, and consider whether the door material supports the proposed attachment.
Do not suspend supplies from water pipes or use them as supports. Be equally cautious about hanging spray bottles by their triggers on a tension rod; the arrangement must be stable and suitable for the products involved. A simple floor-level bin is often easier to remove and inspect than a crowded hanging system.
Adapt the plan to three common cabinet problems
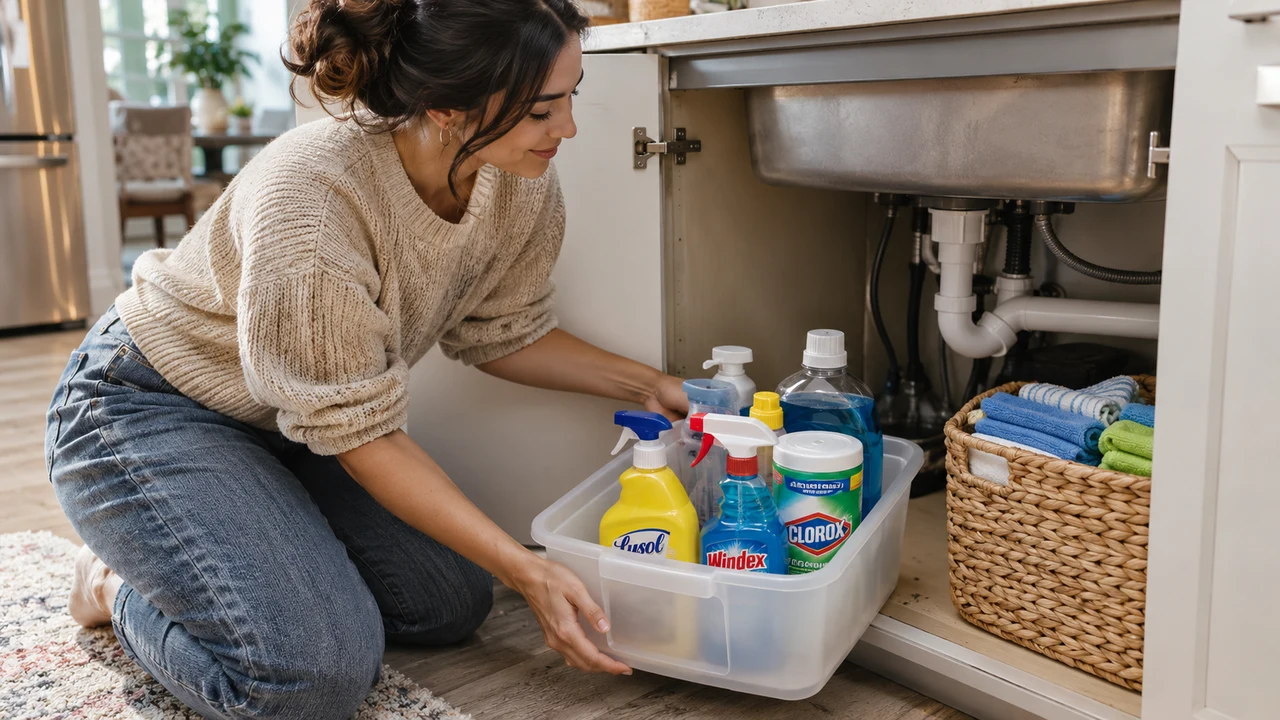
A cabinet with a disposal rarely has equal storage space on both sides. Try a narrow low bin on the clearer side and a shallow caddy near the front if it fits without crowding. Keep the disposal and its connections visible. Do not buy matching tall shelves simply to make the sides look symmetrical.
For a narrow double-door cabinet with a center stile, measure each opening as its own doorway. Two smaller bins may work better than one large drawer. Test both hands on the handles, particularly when the bin is loaded. A container that must be tilted past chemicals or pipes is not a useful daily solution.
For a rental kitchen, start with removable options. Freestanding bins and a simple layout may solve the problem without drilling or adhesives. If an installed organizer would help, check the lease and obtain any required permission before making physical changes. There is no need to remodel to make the cabinet more understandable.
Worked example: one cabinet, two people, no new purchases
Imagine Maria and Ellen sharing a small kitchen. Under the sink they find three partly used cleaners, two boxes of bags, several brushes, and cloths pushed behind the drain. They keep one active appropriate cleaner in its original bottle, record the usable duplicates, and move refills to suitable storage elsewhere.
They use two containers they already own: a small caddy for active supplies and a clean dry bin for cloths. They leave the back clear and label the front. After a week, they move the bag roll because it blocks the caddy’s handle. That adjustment is part of building the system, not evidence that it failed.
Make the layout easier on your body
Check the cabinet from the position in which you normally use it. Can you see the item you need? Can you lift the caddy without twisting around an open door? Does a bottle require reaching past a sharp edge or leaning deeply into the cabinet? Move the supplies to reduce those awkward steps.
Keep each container light enough for the person who will actually lift it. One large bin may look tidy but become inconvenient when filled. Splitting supplies into two smaller groups can be more useful. Ask another household member to try the arrangement rather than assuming it works equally well for everyone.
Our practical updates for a home after 50 considers everyday reach, lighting, and comfort more broadly. Apply the same principle here: use the home you have in a way that supports the person using it today.

Keep the system working after the first cleanup
Give the cabinet a quick look during an ordinary weekly kitchen reset. Return items to their zones, check for dampness or damaged packaging, and notice whether anything is becoming difficult to reach. Treat new moisture as a problem to investigate, not something to hide with a fresh liner.
Before buying a refill, check the inventory and the actual cabinet. Use one consistent place for the shopping note so two people do not replace the same product at once. If supplies repeatedly end up on the counter, ask why. The container might be too heavy, too far back, or blocked by another item.
For a wider kitchen review, our fall kitchen reset guide addresses food, tools, and counters. Keep this cabinet project focused on storage around the sink; combining every room into one session can make a manageable task unnecessarily tiring.
Carry the useful principle to other deep storage
The principle of removing a group of items together also helps on deep shelves elsewhere. Our deep linen closet organization guide explores that approach for bedding and towels. Use suitable separate containers for those clean textiles rather than repurposing a bin that held cleaning chemicals.
At the end of the first week, ask three questions: Can we retrieve the daily supplies easily? Can we see and access the plumbing? Can everything return to its place without rearranging the cabinet? If one answer is no, change that part of the layout before buying more accessories.
Frequently asked questions
What is the best organizer for pipes under a kitchen sink?
There is no single best shape for every cabinet. Measure the usable pockets and the door opening, then test how a container moves around the fixed equipment. Small removable bins or a caddy are sensible starting points when you want to keep plumbing visible and accessible.
Can I organize the cabinet without spending money?
Often, yes. Reduce unnecessary stock, move unsuitable items, and test clean containers you already own. Start with a small daily-use group and a separate place for appropriate refills. Buy something only after you can name the specific problem the existing containers do not solve.
Should I put a liner on the cabinet floor?
A suitable removable liner may make ordinary cleanup easier, but it must not conceal dampness or make inspection difficult. Follow the cabinet material’s care guidance and check underneath during routine reviews. A liner or tray is not a repair for a leak.
How do I keep cleaning products safe and accessible?
Follow each label’s storage directions, keep products in their original labeled containers, and choose secure storage appropriate for children, pets, and the household. Accessibility for adults should not create easy access for someone who should not handle the products. Keep incompatible products and disposal needs in mind when planning.
The most useful finish is a simple test: take out what you need, complete an ordinary task, and put it back. When that sequence feels easy and the plumbing remains visible, the cabinet is doing its job. You can let the empty space stay empty.

Gui Perine
Gui Perine is the creator of Your Life in Full Bloom, a lifestyle website for women who want to live with more intention, beauty, and freedom after 50.
Through thoughtful articles on home, travel, reinvention, and everyday choices, she explores what it means to build a fuller life in a new season — one that feels calmer, more personal, and more aligned with who you are becoming.
Her work is inspired by real-life transitions, the desire for independence, and the belief that life after 50 can be a time of clarity, possibility, and renewal.